

http://makeitandloveit.blogspot.com/2009/10/womens-shirt.html
Hahaha.....I've been pumping out a lot of little kiddo clothing lately and my closet was getting a little jealous. (smirk)
So how about making a new shirt for you that you know will fit you just fine. Because it's patterned after the fit of one of your fave's.
(Or you can just add the ruffle taught here to a shirt that you already have.)
How?
First, lay one of your favorite comfy knit tees down and trace around it on a piece of paper. (I need to buy some butcher paper.....I'm running out of tape from taping regular 'ol sheets of paper together!) You'll have a front piece, and back piece and a sleeve. I created all pattern pieces to be cut out on the fold, so that they are even and symmetrical. (So if you look at my shirt piece, it looks like half of the shirt front.) It will help the whole process work out a little more smoothly.

Then use these pattern pieces to cut out the fabric in your chosen fabric. (If your shirt is knit.....find a similar knit to use.) Make sure to add enough extra for a seam allowance.
Then sew the shirt together at the sides and the shoulders.
Then sew the sleeves together along the bottom side.
Then pin them into the arm hole of the shirt and then sew in place.
Then cut 2 pieces of fabric.....one about 1.5 inches wide and the other about 1 inch wide.
Stack them on top of eachother and sew a wide basting stitch down the center. (I took the picture with the stacked rows upside down. The more narrow piece is attached.....it's just on the reverse side. Ooops.)

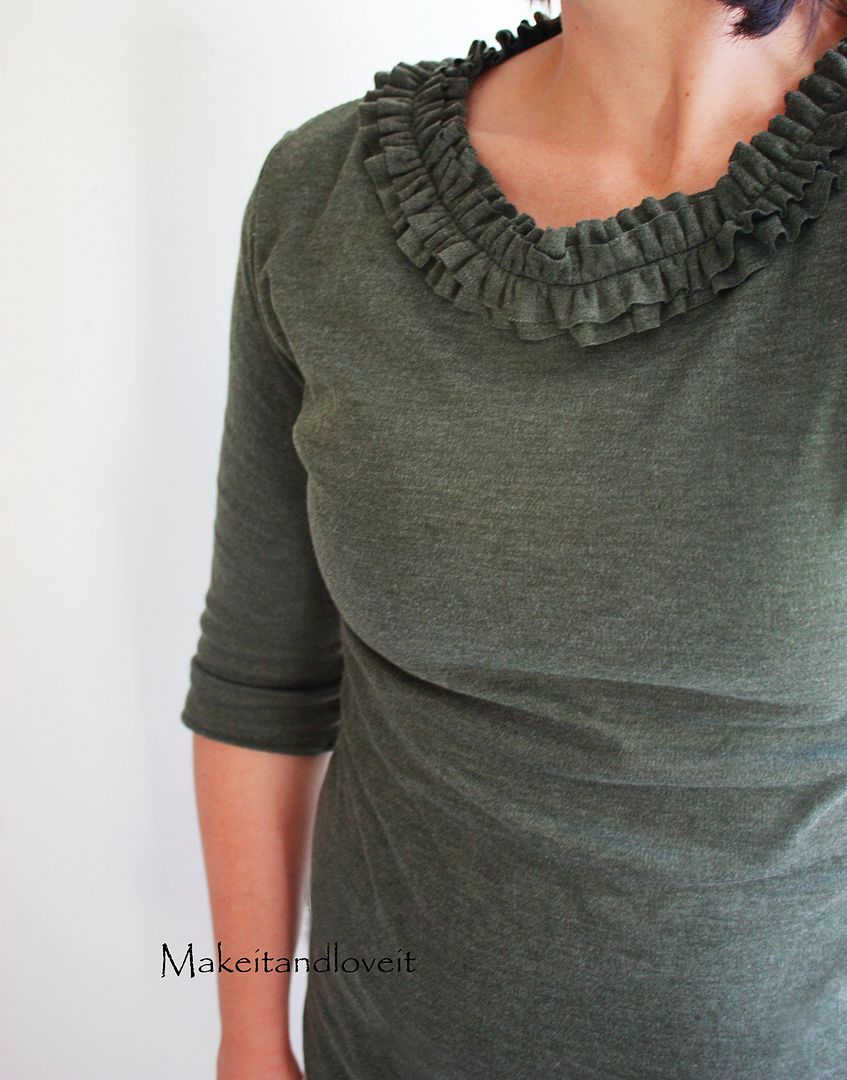
Then pull your top thread to gather and place along the edge of your kneck line.
Evenly gather and pin along the entire neck line. If you need more....make more. I way over estimated and had a long tail to cut off at the end. But it just depends on how full you'd like the ruffle to look.
Then sew along the center of the ruffle, securing it to the neck line. (And tuck under the end of your ruffle and sew it into place.....I know it's hard to see, but it's tucked under.)
Then turn your sleeves and bottom edge under 1/4 inch and then another 1/4 inch, and sew into place....creating a nice hem.
Ahhhh.....
And wow, done.
Can you believe you just made your own shirt??
Wonderful feeling.
**While sewing with knit, you may have problems with it stretching. I usually use a medium size zig-zag to hem the sleeves and bottom, to avoid puckering and allow some stretch. FIRST, try it out on some scraps to see how your particular knit will turn out. This pattern covers up the neck-line.....so you don't even have to worry about a puckered mess around the neck. Perfect. (But I have alot of practicing yet to go with knit.....it's such a finicky fabric.) One more thing, if you find a knit that's a blend with something else (microfiber, rayon, etc.), rather than just a ribbed knit, you may have more success.....and less stretching and puckering. But I'm learning right along with you. :)

0 comments:
Post a Comment